How to Create Handmade Bookmarks
- Rea Weeks
- 15 hours ago
- 4 min read

Handmade bookmarks are one of those small projects that feel instantly satisfying: they’re quick to make, easy to personalize, and they turn an everyday reading habit into something a little more special. Whether you’re crafting for your own books, making thoughtful gifts, or adding a new item to your handmade lineup, this guide will walk you through a few simple, beautiful ways to create bookmarks that actually hold up to real use.
What makes a good handmade bookmark?
A bookmark doesn’t have to be complicated, but a few details make a big difference:
Durability: sturdy cardstock, laminated paper, fabric, leather, or sealed wood will last longer than thin paper.
A smooth finish: rough edges can catch on pages (and get bent).
A flat profile: bulky embellishments can damage book spines—save thicker details for journals or planners.
A personal touch: color palettes, patterns, quotes, tassels, ribbons, pressed flowers, or a theme that matches the reader.
Supplies you’ll use (and easy swaps)
You can make bookmarks with whatever you have on hand. Here are common options:
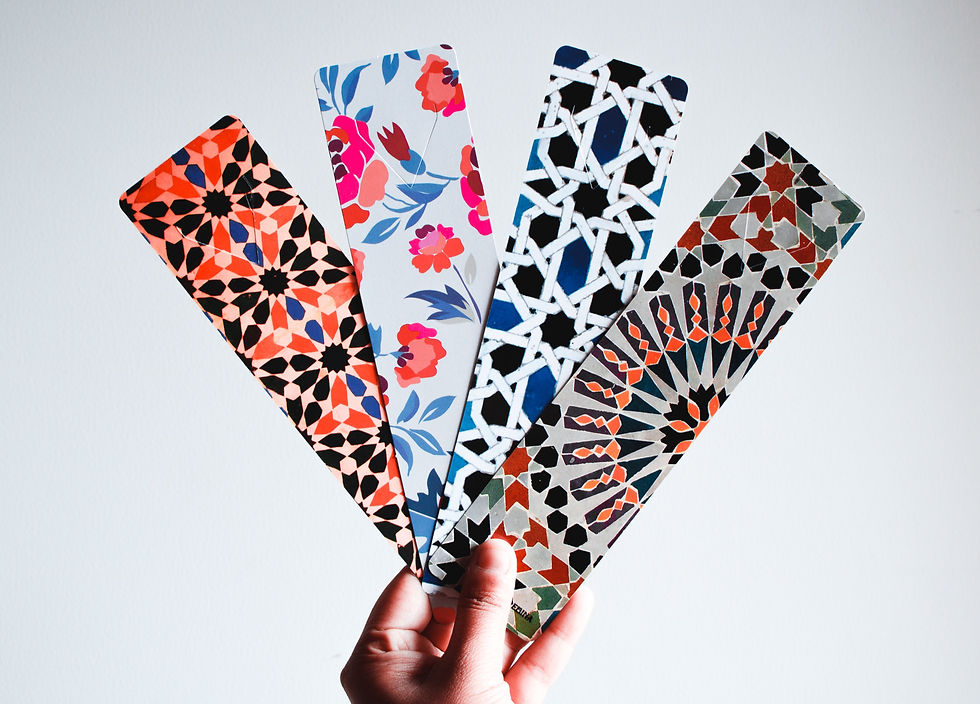
Paper-based bookmarks
Heavy cardstock (65–110 lb)
Decorative paper or printed designs
Paper trimmer or scissors
Corner rounder (optional, but looks professional)
Hole punch
Ribbon, twine, or embroidery floss for tassels
Laminating sheets + laminator (or clear self-adhesive laminate)
Fabric bookmarks
Cotton fabric scraps
Fusible interfacing (adds structure)
Sewing machine or hand-sewing needle
Iron + ironing board
Ribbon or elastic (optional)
Other fun materials
Faux leather sheets or thin leather scraps
Thin wood slices/craft wood (seal with varnish)
Vinyl or sticker paper (great for crisp designs)
Bookmark size (a simple starting point)
A classic, comfortable size is:
2 inches wide x 6 inches tall (about 5 cm x 15 cm)
If you like a longer bookmark that peeks out more:
2 inches x 7 inches
If you’re printing designs, set up a document that fits multiple bookmarks per page so you can batch-make them.
Method 1: Simple laminated paper bookmark (beginner-friendly)
This is the easiest way to get a polished result fast.
Step-by-step
Choose your design.
Use patterned paper, draw your own artwork, or print a design you love.
Cut the bookmark.
Trim to your chosen size (2" x 6" is perfect). Use a paper trimmer for clean edges.
Round the corners (optional).
Rounding corners helps prevent peeling if you laminate.
Laminate it.
Place the bookmark in a laminating pouch, leaving a small border around all edges.
Trim (but keep the sealed edge).
After laminating, trim again, leaving about 1/8 inch (3 mm) of laminate border so it stays sealed.
Add a ribbon or tassel.
Punch a hole centered near the top and tie on ribbon or a tassel.
Pro tips
Use matte laminate if you don’t want glare.
If you don’t have a laminator, clear self-adhesive laminate sheets work well—just press slowly to avoid bubbles.
Method 2: Layered cardstock bookmark (no laminator needed)
If you like a sturdy feel without plastic laminate, this method is great.
Step-by-step
Cut two pieces of cardstock to the same size.
Decorate the front layer (stickers, printed design, hand lettering, washi tape, etc.).
Glue the layers together with strong adhesive (double-sided tape or a glue stick designed for paper).
Seal it (optional but recommended).
Use a clear acrylic spray sealer or brush-on Mod Podge (thin, even coats).
Finish the top.
Punch a hole and add ribbon, or leave it clean and minimal.
Pro tips
If your design includes ink, let it dry fully before sealing.
Use a bone folder (or the side of a marker) to smooth out bubbles when layering.
Method 3: Fabric bookmark (soft, flexible, and durable)
Fabric bookmarks are cozy and long-lasting—especially for readers who toss books into bags.
Step-by-step
Cut fabric and interfacing.
Cut two fabric rectangles (same size) and one interfacing piece.
Fuse the interfacing to the wrong side of one fabric piece.
Sew the two fabric pieces right sides together, leaving a small opening.
Turn it right-side out and press flat.
Topstitch around the edge to close the opening and keep it crisp.
Pro tips
Add a small ribbon loop at the top if you like a decorative touch.
If sewing isn’t your thing, fabric glue can work, but stitching will last longer.
Adding personality: easy design ideas
If you want your bookmarks to feel truly handmade (not just “cut paper”), try:
Quotes or short reading reminders (“One more chapter”, “You’ve got this”, etc.)
Seasonal themes (fall leaves, cozy winter patterns, spring florals)
Book-genre sets (mystery, fantasy, romance—each with its own palette)
Monograms or name personalization (great for gifts)
Matching sets for book clubs or classrooms
💕 You can find SVGs, PNGs, and even paper on Creativefabrica.
Join CreativeFabrica and get access to millions of graphics, crafts, PDFs, classes, and more! All at an affordable monthly price! If you're a crafter or scrapbooker, this site is for you.
You can download this beautiful paper pack for free when you use my affiliate link below.

Common mistakes to avoid
Cutting too close after laminating: you’ll break the seal and it may peel.
Using thin paper without reinforcement: it bends quickly.
Adding thick charms for book reading: save bulky charms for planners, not book pages.
Skipping dry time on sealers: it can leave fingerprints or tacky spots.
🌟 Final Thoughts
Handmade bookmarks are a small project with a big payoff—and once you’ve made a few, you’ll probably start seeing bookmark ideas everywhere: gift wrap scraps, fabric offcuts, old art prints, even pressed flowers.
Rea 🌻Creator of A Rea of Treasures


Comments