How to Create a Junk Journal from Scratch (Step-by-Step Guide)
- Rea Weeks
- Apr 28
- 6 min read

There’s something extra satisfying about making a junk journal from scratch: it’s part craft project, part memory-keeper, and part creative playground. In this step-by-step guide, you’ll learn how to plan, build, and fill a junk journal that feels sturdy, personal, and fun to use—without needing fancy tools.
What is a junk journal?
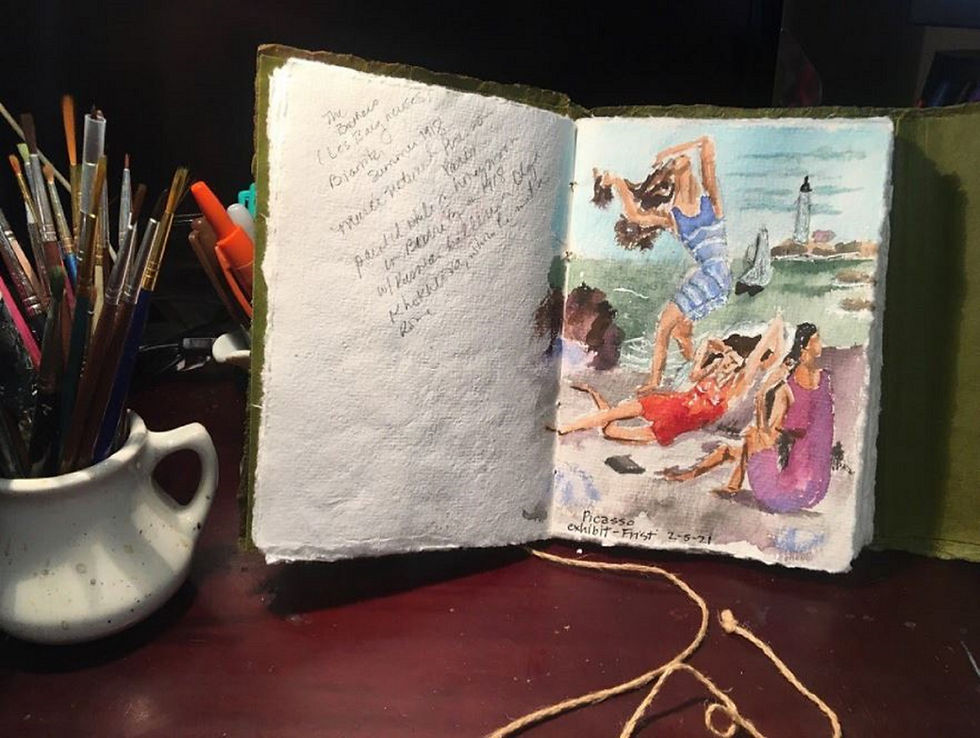
A junk journal is a handmade book created from everyday materials—think recycled paper, packaging, envelopes, magazine pages, old book pages, and fabric scraps. The “junk” part is affectionate: it’s about turning leftovers into something beautiful and useful.
Junk journals can be used for:
Memory keeping and scrapbooking
Art journaling
Travel journals
Gratitude journaling
Ephemera collecting
Gift journals
Supplies you can use (simple + flexible)
You can keep this as basic or as “extra” as you want. Here are reliable options.
For the cover
Chipboard, cereal box cardboard, or a cut-down hardcover book
Fabric, scrapbook paper, kraft paper, or a paper bag for covering
Glue or double-sided tape
For the inside pages (signatures)
Printer paper, lined paper, and cardstock
Old book pages, music sheets, magazines
Coffee/tea-dyed paper (optional)
For binding
Waxed thread, embroidery floss, or strong string
A needle
An awl, push pin, or sharp needle for punching holes
For decorating
Washi tape
Stamps and ink
Stickers
Paper scraps
Fabric scraps, lace, ribbon
Helpful tools (not required)
Ruler
Scissors
Craft knife + cutting mat
Bone folder or an old gift card (for crisp folds)
Step 1: Choose your size and plan your journal
Before cutting anything, decide:
Finished size (common: A5-ish, 5x7, or traveler’s notebook size)
How chunky you want it (more ephemera = bigger spine)
Number of signatures (start with 2–4)
Beginner-friendly option: 3 signatures with 6–8 folded sheets each.
Step 2: Make your signatures (the “booklets” inside)
A signature is a small stack of papers folded in half.
Cut or gather papers roughly the same height and width.
Stack a mix of papers for variety (thin, thick, patterned, plain).
Fold each stack in half.
Press the fold firmly with your bone folder or gift card.
Tip: If some pages stick out unevenly, that’s normal. You can trim the edges later for a cleaner look—or keep the wild edges for a more handmade feel.
Step 3: Create a sturdy cover
You can make a cover from chipboard or repurpose an old book.
Option A: Chipboard cover (simple DIY)
Cut two cover boards (front and back) the same size.
Cut a spine piece (width depends on how thick your journal will be).
Lay them on your cover material with small gaps between pieces.
Glue the boards down.
Wrap and glue the cover material around the edges.
Option B: Repurpose a hardcover book
Remove the old pages (carefully) and use the existing cover and spine.
Step 4: Punch sewing holes (cover + signatures)
This is the step that makes your journal feel “real.”
Decide how many sewing holes you want (a common start is 3 to 5 holes).
Mark the holes on the fold of each signature.
Punch holes with an awl or push pin.
Use the first signature as a template for the others.
Tip: Punch through a piece of cardboard underneath to protect your table.
Step 5: Bind your journal (simple pamphlet stitch or 3-hole binding)
There are many binding styles. A great beginner option is a pamphlet stitch for each signature, then attach signatures to the cover.
Basic binding flow
Thread your needle and knot the end.
Sew in and out through the holes along the signature fold.
Pull snug (not tight enough to tear paper).
Tie off securely.
If this is your first time binding, don’t worry if it’s not perfect. A slightly wonky stitch is part of the charm—and it still holds up beautifully.
Step 6: Add pockets and interactive elements
This is where junk journals become addictive.
Easy ideas:
Envelope pockets for notes or receipts
Tucked spots (glue three sides of a paper piece to create a pocket)
Flip-outs made from larger paper folded in
Tags tied with string or ribbon
Tucks using washi tape as a hinge
Quick pocket tip: Use a page from a paper bag or scrapbook paper, fold it into a pocket shape, and glue it into a spread.
Step 7: Decorate pages in a way that stays usable
A junk journal can be both pretty and functional.
Try a simple approach:
Pick 2–3 colors for your theme
Repeat a few elements (the same stamp, washi, or label style)
Leave some open space for journaling
If you love a cohesive look but don’t want to hunt down matching papers, using a coordinated set of printable papers can make the whole process feel smoother. If you ever want a quick way to build a theme, I keep my favorite printable paper sources bookmarked—Creative Fabrica is one I return to when I need something that “just works” with minimal fuss.
Step 8: Make it sturdy (so it lasts)
A few small choices make a big difference:
Use a stronger cover material (fabric over board is very durable)
Don’t overfill too early (add ephemera gradually)
Reinforce heavy pockets with a line of glue along the edges
Add a closure (ribbon tie, elastic, or button) if your journal gets chunky
Step 9: What to put inside your junk journal
If you’re staring at a blank spread, here are low-pressure prompts:
A “today” page: date, weather, one highlight
Favorite quotes or song lyrics
Collage pages using scraps
A gratitude list
A mini photo story
A page of textures: fabric, tags, tape, stamped paper
Beginner mistakes (that are easy to avoid)
Making the spine too small: leave extra space if you plan to add bulky items.
Using too much wet glue on thin paper: go light, or use tape for delicate pages.
Over-decorating every page: leave some breathing room.
Skipping hole templates: consistent holes make binding easier.
A gentle next step (if you want a faster start)
If you enjoyed this process, you might also love having a few ready-to-print elements—tags, journaling cards, pockets, and themed paper—on hand for days when you want to create but don’t want to design from scratch. If you’d like, you can browse my favorite Creative Fabrica finds through my affiliate link and save it for later when inspiration hits.
And if you want occasional ideas like page prompts, scrap-to-treasure tutorials, and printable tips delivered in a calm, no-pressure way, you can join my mailing list. I send notes you can actually use the next time you sit down to craft.
If you’re in the mood to add a few pieces that match your style right away, you can also check out the products in my shop—especially the items that are designed to mix easily into junk journals (like tags, pockets, and journaling cards).
Quick checklist: junk journal from scratch
[ ] Choose size + number of signatures
[ ] Gather and fold papers into signatures
[ ] Make and cover the boards + spine
[ ] Mark and punch holes
[ ] Bind signatures into the cover
[ ] Add pockets, flips, and tucks
[ ] Decorate with a simple repeating theme
[ ] Start journaling and add ephemera over time
🌻 If you're looking for high-quality scrapbook paper, check out my store!
Rea of Treasures offers a plethora of digital and printable products; from scrapbook paper to monthly planners, reading trackers, coloring pages, and more! You can find it all in my shop!
💕 CreativeFabrica Gives You Access To Millions of Resources!
Join CreativeFabrica and get access to millions of graphics, crafts, PDFs, classes, and more! All at an affordable monthly price! If you're a crafter or scrapbooker, this site is for you.
Click my affiliate link to join!
Now through May 6th, you can use my affiliate link by clicking the image below and snag this adorable baseball PNG set:

💌 If you found this post helpful, join my mailing list for more! Every Monday and Wednesday, I send out a newsletter. You'll receive freebies, promotionals, tutorials, tips, and more!
The Sunflower Squad and receive:
Freebie every Monday
A promo code for my store every Wednesday
Encouraging emails for your writing, reading, and crafting journey
Lots of tutorials and tips to help you improve your craft
➕ Join now and receive a sample of my scrapbook paper!
Let’s make your hobbies feel like a cozy adventure again. ✍️✨
🌟 Final Thoughts
Your first junk journal doesn’t have to be perfect—it just has to be yours. Start with what you have, keep it simple, and let the pages evolve as you use it.
Rea 🌻Creator of A Rea of Treasures


Comments