


Scrapbooking for Beginners: Everything You Need to Get Started (Without Overspending)


✂️ Scrapbooking is about telling your story, not buying the fanciest supplies. This beginner-friendly guide walks you through what you need, what you can skip, and how to start today without overspending.
What scrapbooking is (and why it’s worth trying)
Scrapbooking is the practice of preserving memories using photos, journaling, and simple decoration in an album. It can be as minimal or as creative as you want. The best part is that it helps you actually use your photos instead of leaving them on your phone.
You do not need a craft room, a cutting machine, or a giant stash. You just need a plan and a few basics.
Start with the simplest plan: pick one project
Beginners get overwhelmed when they try to scrapbook “everything.” Instead, pick one small, satisfying project.
Good first projects:
One event: a birthday, trip, holiday, or school performance
One month: a “April Highlights” spread
One person: a grandparent, a child, a best friend
One theme: “Sunday mornings,” “our pets,” “favorite meals”
A clear project keeps your supplies focused, which keeps your spending down.
The budget-friendly supply list (what you actually need)
Here is the core list that will let you complete real pages.
1) Album and page protectors
Choose one format to start and stick with it.
12×12: lots of space, classic scrapbook look
8.5×11: easy to print photos and journaling, often cheaper
6×8: compact, quick pages
Budget tip: Look for albums secondhand or buy during sales. Make sure you can still find matching refill protectors.
2) Paper (a little goes a long way)
You only need:
Cardstock or a neutral base paper (white, cream, black, or kraft)
A few patterned papers that match your project
Budget tip: Buy paper in small packs that fit your theme instead of large “mega” stacks.
3) Adhesive
This is the one thing that makes or breaks your experience.
Beginner-friendly options:
Tape runner: fast and clean
Double-sided tape: strong and reliable
Glue stick: okay for light paper, not ideal for photos
Budget tip: You do not need multiple adhesives at first. Pick one that feels easy to use.
4) A good pair of scissors
A sharp pair of scissors is more useful than a fancy cutting tool.
Budget tip: Buy one solid pair and keep it for paper only.
5) A pen you enjoy writing with
Scrapbooking is half photos and half story.
Choose a smooth, archival or fade-resistant pen if possible.
Budget tip: One reliable black pen is enough for a long time.
Optional “nice-to-haves” (only if you will use them)
Paper trimmer (helpful, but not required)
Corner rounder
Date stamp
A few letter stickers
One set of themed embellishments (stickers, die-cuts, or washi)
What you can skip (the “don’t overspend” list)
It is easy to buy supplies for the scrapbooker you want to be instead of the one you actually are.
You can skip these at the beginning:
Huge sticker books “just in case”
Specialty tools you do not understand yet
Trendy collections that do not match your photos
Dozens of inks, paints, and mediums
Every color of alphabet stickers
If you are unsure, follow this rule: Only buy something if you can name the page you will use it on.
How to make a great page (simple, repeatable steps)
Use this basic workflow until it feels natural.
Step 1: Choose 3–7 photos
Too many photos can stall a layout. Pick a small set that clearly tells the story.
Step 2: Decide what the page is “about”
Write a one-sentence caption first. Example:
“Our first day at the beach was windy, cold, and absolutely perfect.”
That sentence becomes your title or journaling.
Step 3: Pick a simple layout
Begin with one of these:
One big photo + journaling block
Two photos side by side + a title
Three photos in a grid + a short story
Step 4: Build a color palette from the photos
Pull 2–3 colors you already see in the photos, then choose papers or stickers that match.
Step 5: Add the story (journaling)
If writing feels hard, use prompts:
What happened right before this photo?
What was the funniest moment?
What do you want to remember in five years?
Who was there?
What did it smell like, sound like, taste like?
Step 6: Decorate last
Decorations should support the story, not cover it.
Use embellishments to guide the eye toward your photos.
Repeat the same shape or color 2–3 times to make it feel intentional.
Easy photo printing options (without wasting money)
Printing can become expensive fast, so keep it simple.
Options many beginners like:
Print at home if you already have a printer you trust
Local pharmacy or big-box store for quick, affordable prints
Online photo services when you want consistent quality
Budget tip: Start with standard sizes (4×6) and trim them if you want variety.
Smart ways to save money on supplies
You can build a small, useful stash with these habits.
Shop your home first: packaging, old greeting cards, magazines, ribbon, maps, ticket stubs
Use what you already own: markers, pens, scissors, craft glue, notebooks
Buy by project, not by collection: purchase only what matches your current photos
Set a “finish first” rule: complete 3–5 pages before buying more supplies
Check secondhand: thrift stores, marketplace listings, local craft swaps
Use printable freebies: journaling cards, simple titles, calendars
A beginner’s “first page” idea you can copy
Try this simple layout to get momentum.
Layout: One photo + story + three small accents
1 photo (4×6)
1 title (handwritten or letter stickers)
3 small embellishments (stars, hearts, circles, tabs)
3–5 sentences of journaling
Keep it clean. When you finish, you will feel confident enough for the next page.
Common beginner mistakes (and how to avoid them)
Buying too much too soon → Start with the basics and one project.
Overthinking the layout → Use a simple repeatable design.
Skipping journaling → Even one sentence makes the page meaningful.
Using weak adhesive → Invest in one reliable adhesive.
Trying to be “perfect” → Finished pages matter more than flawless pages.
Frequently asked questions
Do I need special “scrapbook” paper?
No. Any paper you like can work. If you want pages that last a long time, look for acid-free options, but do not let that stop you from starting.
Is digital scrapbooking cheaper?
It can be, especially if you already pay for a design app and you keep your purchases limited. Many people enjoy hybrid scrapbooking too: design digitally, then print and add simple touches in an album.
How long does one page take?
At first, 30–90 minutes is normal. You will get faster as you repeat the same process.
🌻 If you're looking for high-quality scrapbook paper, check out my store!
Rea of Treasures offers a plethora of digital and printable products; from scrapbook paper to monthly planners, reading trackers, coloring pages, and more! You can find it all in my shop!
💕 CreativeFabrica Gives You Access To Millions of Resources!
Join CreativeFabrica and get access to millions of graphics, crafts, PDFs, classes, and more! All at an affordable monthly price! If you're a crafter or scrapbooker, this site is for you.
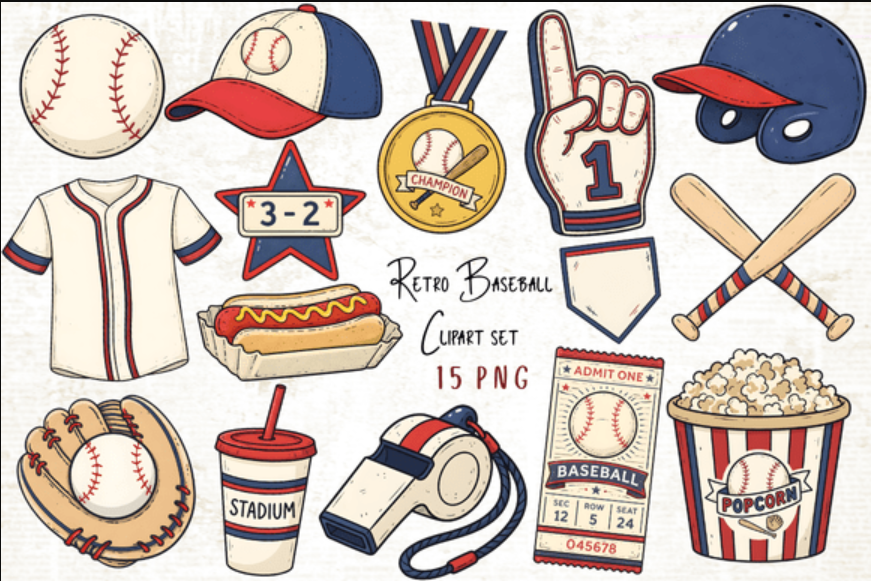
Now through May 5, you can use my affiliate link by clicking the image below and snag this adorable baseball clipart set:
💌 If you found this post helpful, join my mailing list for more! Every Monday and Wednesday, I send out a newsletter. You'll receive freebies, promotionals, tutorials, tips, and more!
The Sunflower Squad and receive:
Freebie every Monday
A promo code for my store every Wednesday
Encouraging emails for your writing, reading, and crafting journey
Lots of tutorials and tips to help you improve your craft
Let’s make your hobbies feel like a cozy adventure again. ✍️✨
Your next step: start today with what you have
Pick one small set of photos, grab a pen, and put them on a page. Keep your supply list short. The goal is to tell a story you will be happy to reread later.
🌟 Final Thoughts
If you want, tell me what your first project will be (event, month, or theme), and I can suggest a simple layout and a tiny shopping list that fits it.
Rea 🌻Creator of A Rea of Treasures


Comments