10 Canva Hacks Every Crafter Should Know (That Save Time & Make You Look Pro)
- Rea Weeks
- Apr 28
- 4 min read


If you love making stickers, T-shirts, party printables, labels, and all the little handmade details that make a project feel finished, Canva can be your best friend. But it can also quietly eat up your time if you are clicking around without a system.
These Canva hacks are the ones I lean on when I want a design to look polished without spending all afternoon on it. You do not need to be a graphic designer to use them. You just need a few smart shortcuts and a workflow that keeps you moving.
1. Start with one “master” canvas (and duplicate like a pro)
Instead of starting from scratch every time, build one clean master design file with your brand basics already in place.
Add your favorite fonts.
Set your go-to colors.
Create a few reusable text styles (headline, subhead, small print).
Then use Duplicate page for variations (different phrases, colors, sizes) rather than creating new designs for each version.
Why it saves time: You keep the same spacing, style, and quality across your whole project.
2. Use Templates as a starting point, not a finish line
Canva templates are great for structure, but the fastest way to look “homemade” is to leave them exactly as they are.
Try this instead:
Keep the layout.
Swap in your own fonts.
Replace stock graphics with craft-specific elements.
Adjust spacing so it feels intentional.
Quick tip: If you find yourself reusing a layout often, turn your edited version into your own template.
3. Lock your background so you stop accidentally moving it
Nothing derails momentum like nudging a background or frame by accident.
Click the background element.
Hit Lock.
Now you can edit text and move pieces around without “mystery shifts.”
Why it saves time: Fewer mistakes means fewer re-dos.
4. Align everything with Position + Tidy up
Even beautiful elements look off if they are not aligned.
When you have multiple items selected, click:
Position → align left, center, right
Tidy up to evenly space items
This is especially helpful for:
product mockups
sticker sheets
label sets
pricing or info graphics
Why it makes you look pro: Clean alignment is one of the biggest differences between “cute” and “crafted.”
5. Use Guides and Margins for instant polish
If you design anything that will be printed, you want consistent spacing.
Turn on:
File → View settings
Enable Show rulers and guides
Enable Show margins
Then drag custom guides where you want safe zones.
Why it saves time: You can trust your layout and stop eyeballing everything.
6. Remove backgrounds the fast way (and the free way)
If you have Canva Pro, the Background Remover is an easy win.
If you do not, you can still get clean cutouts by using PNG graphics that already have transparent backgrounds.
A simple workflow:
Search for design elements labeled as PNG.
Use high-quality clipart or SVG-style graphics.
If you like craft-ready graphics, this is where Creative Fabrica can be a huge time-saver because so many of the assets are already optimized for making.[Creative Fabrica affiliate link]
7. Make color changes instantly with “Change all”
When you click an element and change its color, Canva will often show a small option that says Change all.
Use it.
It updates every matching color in the design in one click.
Why it saves time: You can create multiple colorways of the same design in minutes.
8. Create a “brand kit” page inside every project
Even if you do not use Canva’s official Brand Kit feature, you can build a simple workaround.
Add a page at the end of your file called Brand Kit and include:
your color palette (as squares)
your fonts
your most-used icons and shapes
a few go-to text layouts
Why it saves time: You never have to hunt through old designs to find the right blue or your favorite font pairing.
9. Speed up formatting with Copy Style
This is one of the easiest ways to keep typography consistent.
Select a text box that looks right.
Click the paint roller (Copy style).
Click the text you want to match.
It copies font, size, color, spacing, and effects.
Why it makes you look pro: Consistent text styling instantly raises the quality of a design.
10. Export with the right settings so your prints look crisp
Exporting is where a lot of crafters accidentally lose quality.
For most printables:
Download as PDF Print
If available, choose Crop marks and bleed (especially for full-bleed designs)
For stickers and transparent designs:
Download as PNG
Enable Transparent background if you have it
Why it saves time: You avoid fuzzy prints and you do not have to remake files later.
🌻 If you're looking for high-quality scrapbook paper, check out my store!
Rea of Treasures offers a plethora of digital and printable products; from scrapbook paper to monthly planners, reading trackers, coloring pages, and more! You can find it all in my shop!
💕 CreativeFabrica Gives You Access To Millions of Resources!
Join CreativeFabrica and get access to millions of graphics, crafts, PDFs, classes, and more! All at an affordable monthly price! If you're a crafter or scrapbooker, this site is for you.
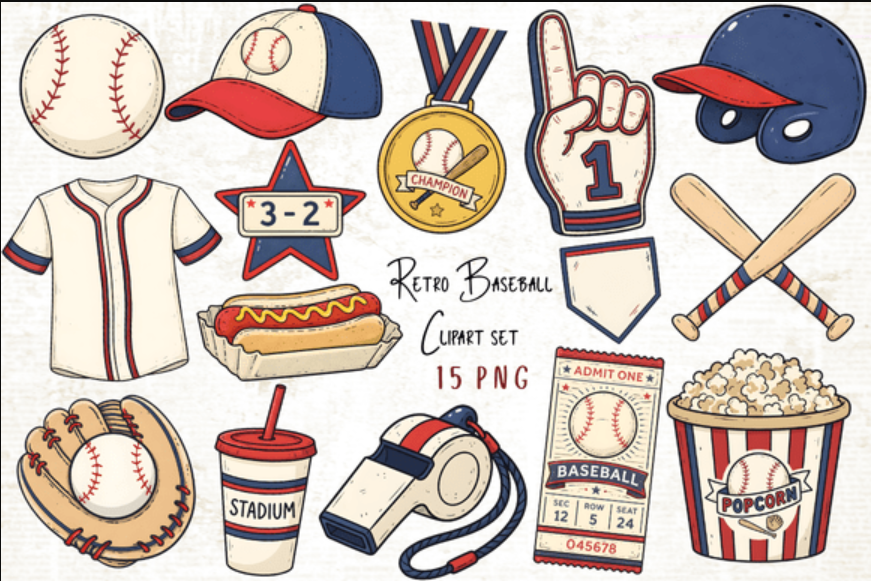
Now through May 5, you can use my affiliate link by clicking the image below and snag this adorable baseball clipart set:
💌 If you found this post helpful, join my mailing list for more! Every Monday and Wednesday, I send out a newsletter. You'll receive freebies, promotionals, tutorials, tips, and more!
The Sunflower Squad and receive:
Freebie every Monday
A promo code for my store every Wednesday
Encouraging emails for your writing, reading, and crafting journey
Lots of tutorials and tips to help you improve your craft
Let’s make your hobbies feel like a cozy adventure again. ✍️✨
🌟 Final Thoughts: A simple workflow that ties all 10 hacks together
If you want to put these into practice without feeling overwhelmed, try this:
Pick a template for structure.
Swap fonts and colors to match your style.
Lock the background.
Use guides and margins.
Duplicate pages for variations.
Align everything with Position + Tidy up.
Copy style to keep text consistent.
Export with the right settings.
Once you do this a couple of times, Canva starts to feel less like a design tool you “fight with” and more like a tool that works with you.
Rea 🌻Creator of A Rea of Treasures


Comments